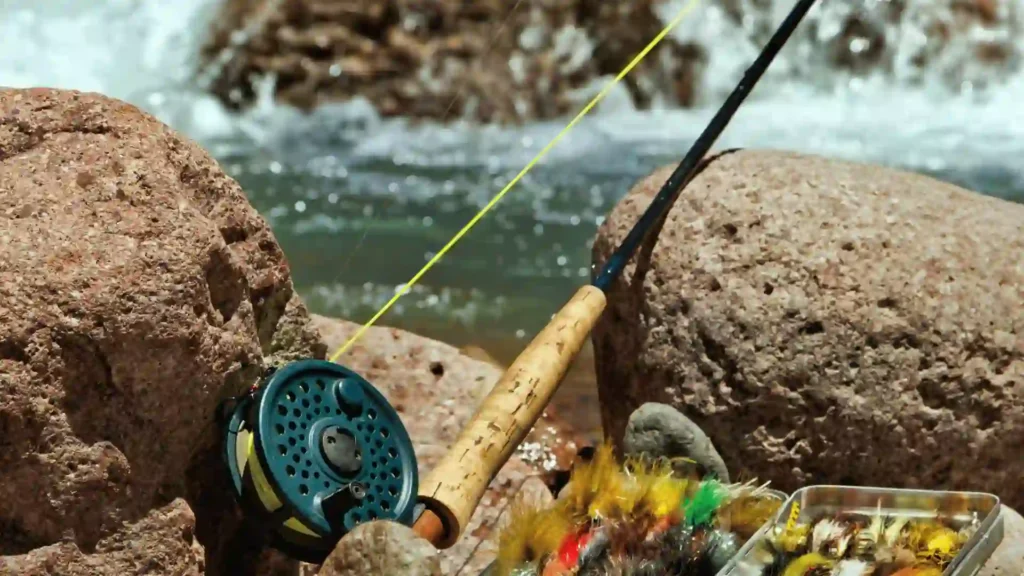
How To Tie the Black Hopper Fly: Step-by-Step Guide

Did you know that the black hopper fly is a secret weapon for catching trout? Its uncanny resemblance to a grasshopper makes it irresistible to fish, whether you’re a seasoned angler or just dipping your toes into the sport.
Let’s dive into the art of making your very own black hopper fly using poly wing, cut segment, and notice. I’ll walk you through each step, sharing tips along the way to ensure you craft top-notch flies that’ll have fish jumping for joy.
So, grab your vise, tools, and prepare to embark on a thrilling journey into the world of fly tying with this captivating pattern!
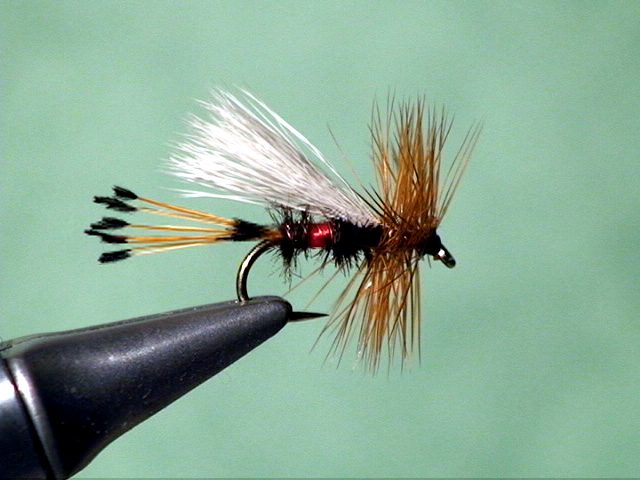
Unveiling the Black Hopper Fly Pattern
Decoding the Anatomy of a Black Hopper Fly Pattern
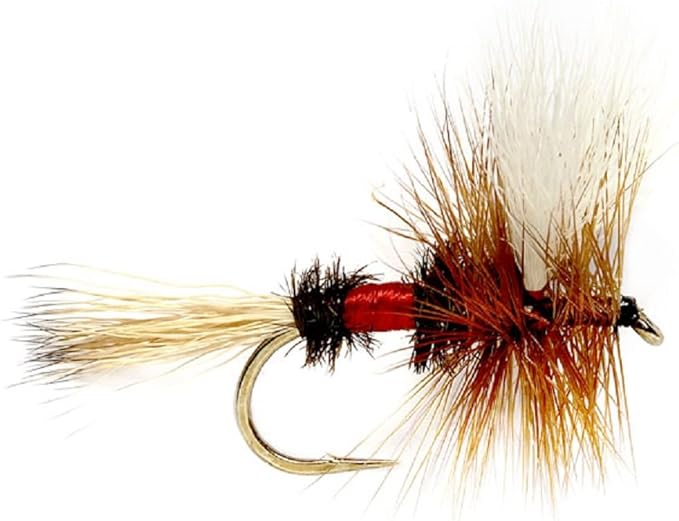
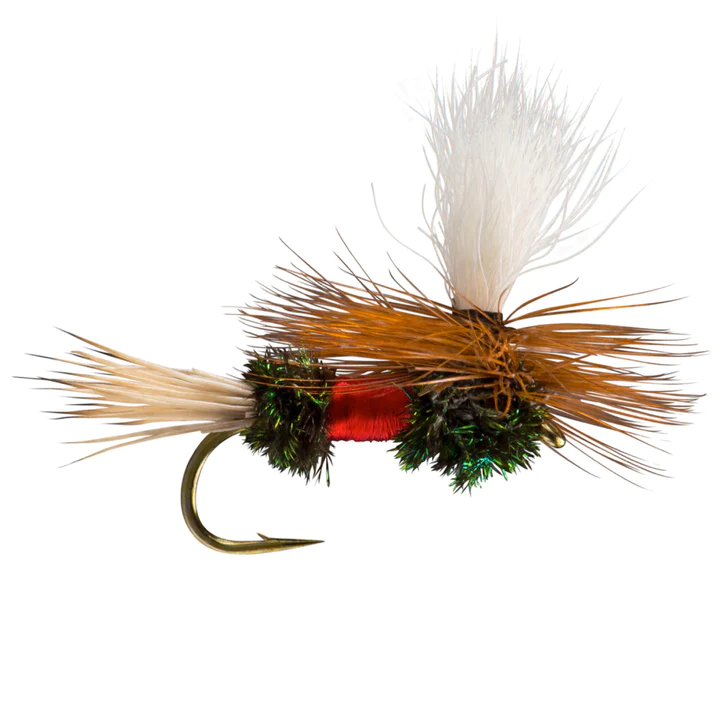
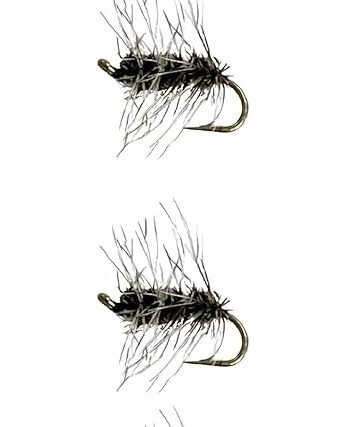
What is the Black Hopper Fly Pattern
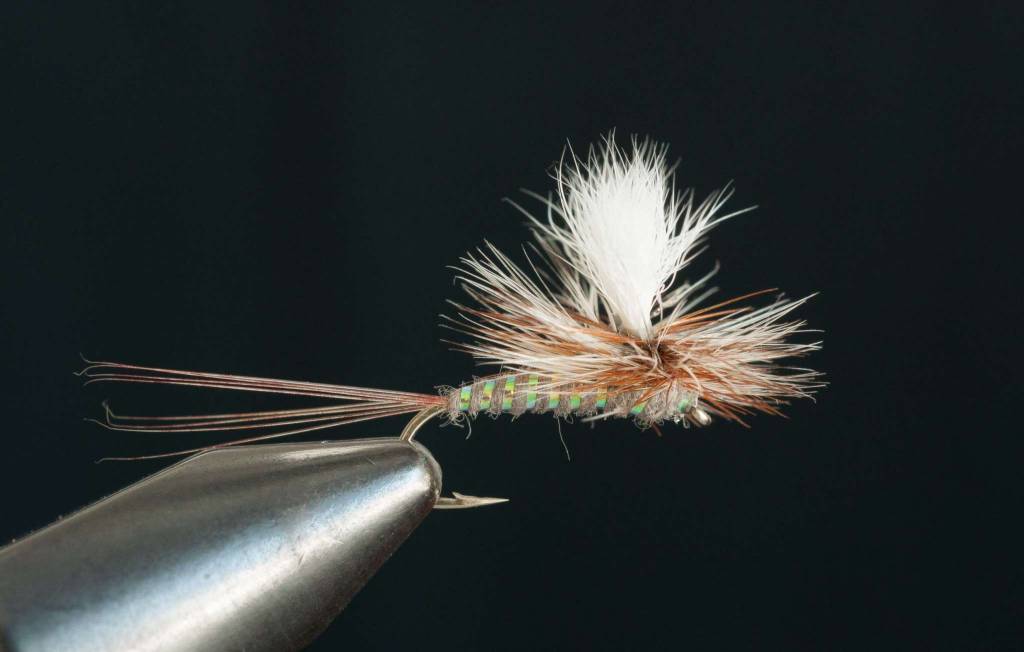
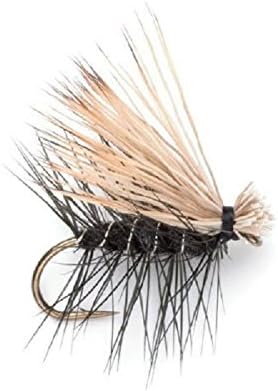
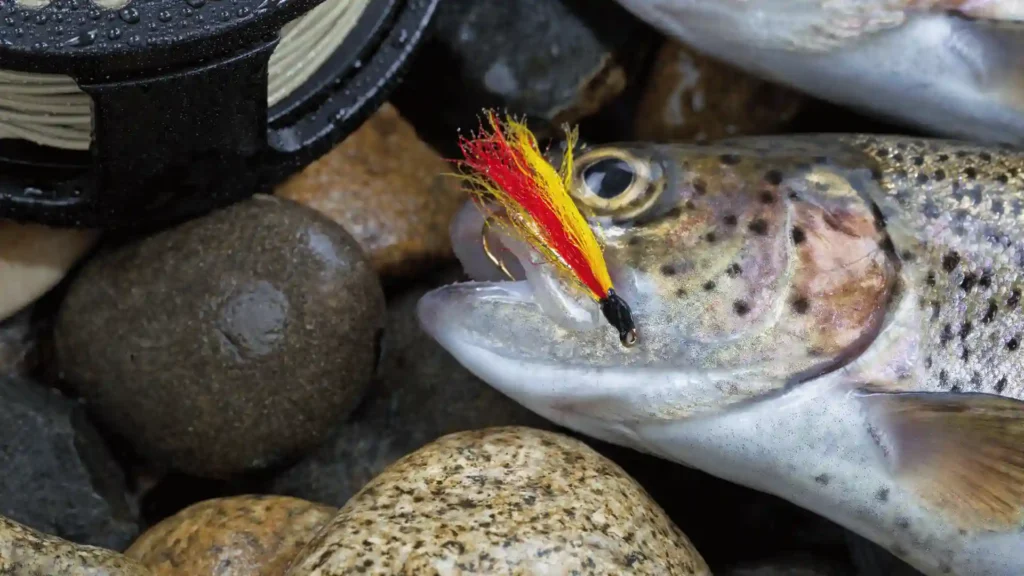
The black hopper fly pattern is a true all-rounder, perfect for mimicking grasshoppers and other land-dwelling insects. Designed to ride the water’s surface, it’s a go-to choice for dry fly fishing.
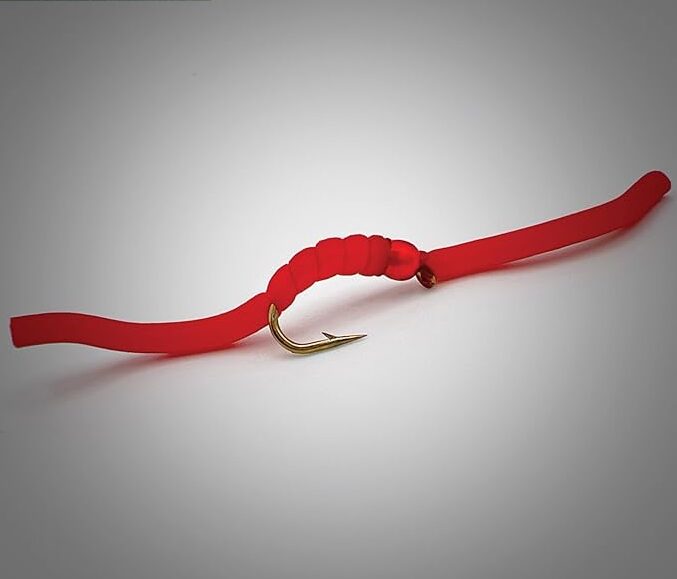
With its hopper body cut to mirror the contours of a grasshopper and its striking black hue providing excellent visibility against the water, this pattern is a favorite among both anglers and fish alike.
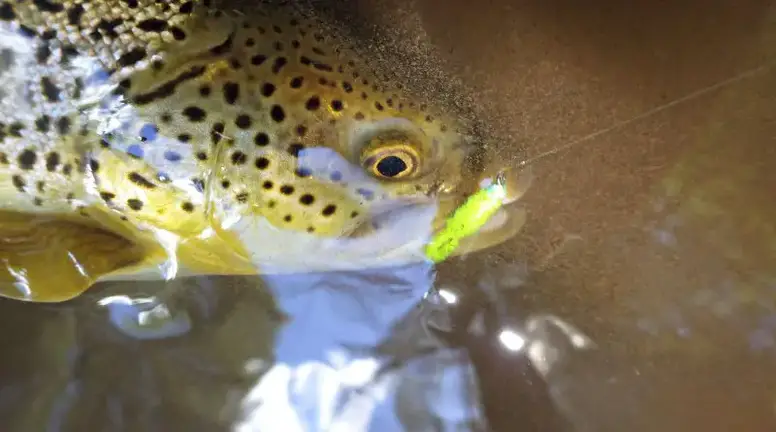
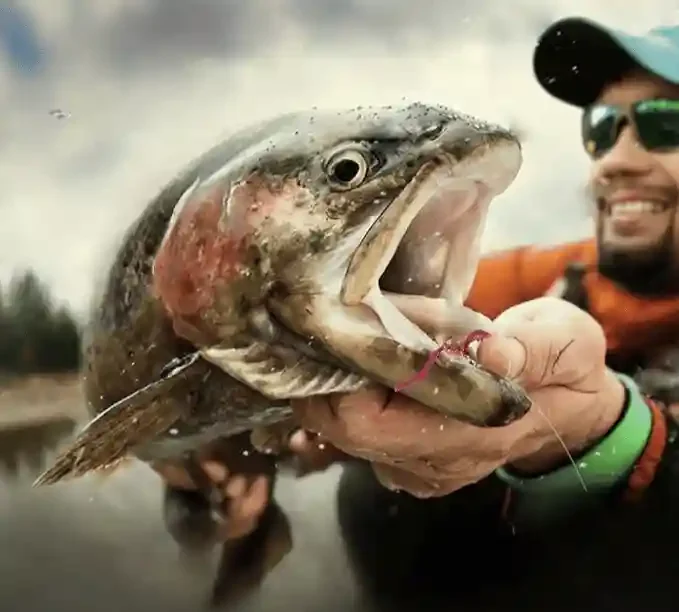
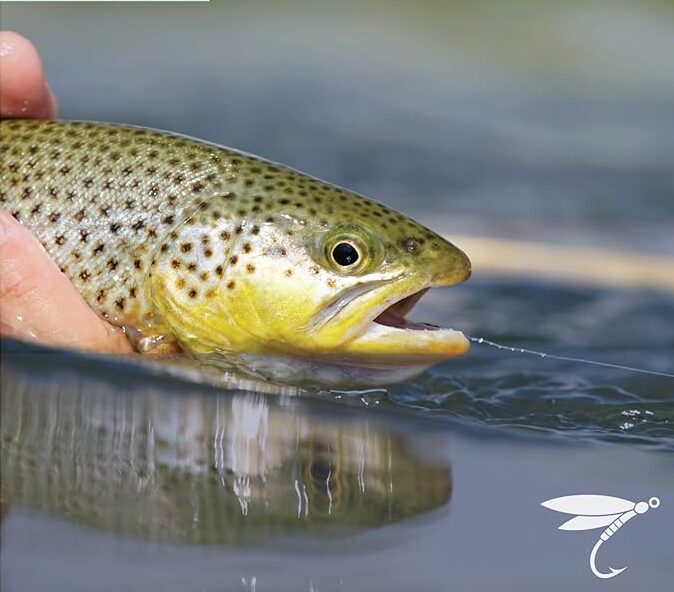
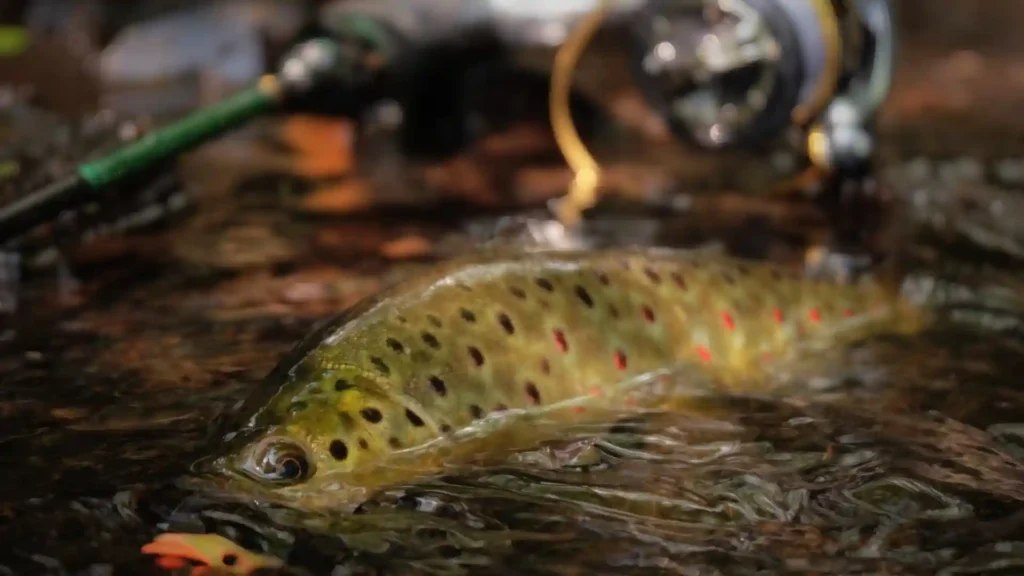
Especially during the summer months, when grasshoppers abound near rivers and streams, the black hopper fly reigns supreme. These critters often find themselves taking an unexpected dip, luring in hungry trout on the lookout for an easy snack.
By mastering the art of tying a black hopper fly, anglers can tip the scales in their favor, enticing strikes from even the most discerning fish.
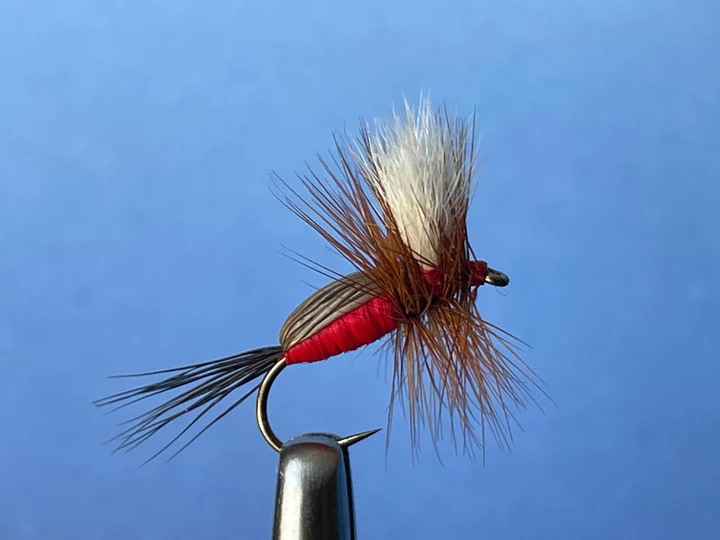
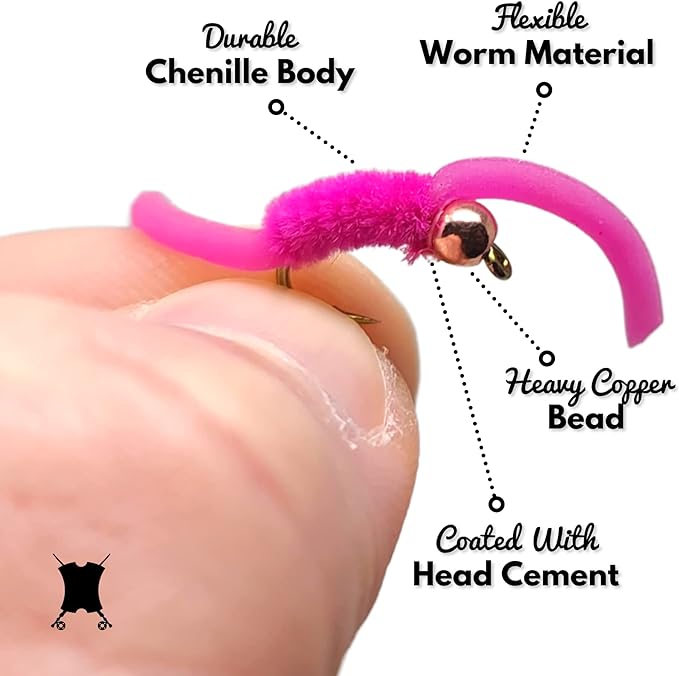
Anatomy of a Black Hopper Fly Pattern
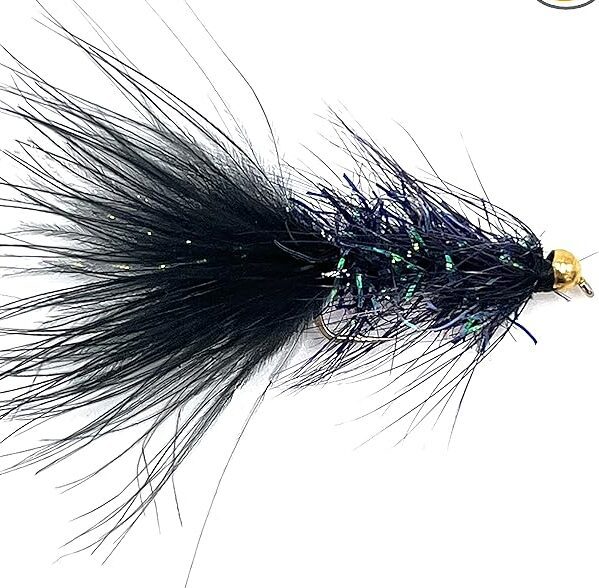
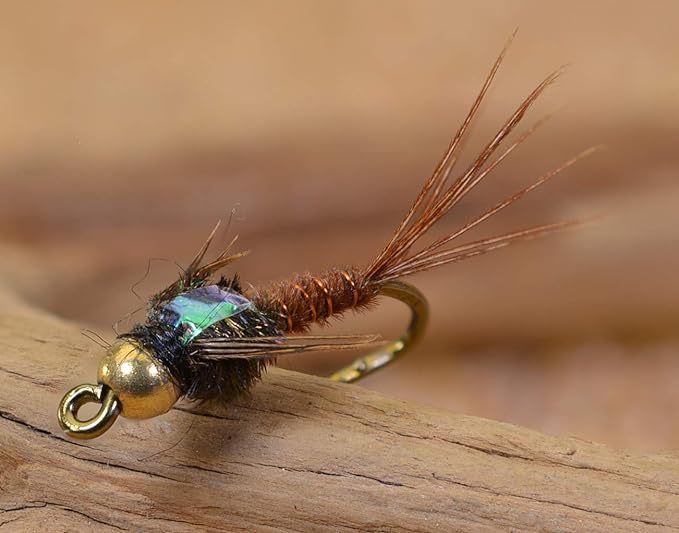
To tie your very own black hopper fly pattern, you’ll need a handful of key materials: black foam, black hackle feathers, black rubber legs, thread in a matching hue (like black), and a hook in the appropriate size (typically ranging from 10 to 14).
Start by securing your thread to the hook shank near its eye. Then, anchor one end of your foam strip behind the hook’s eye with snug wraps of thread.
Wrap your thread back along the shank towards its bend, stopping at about two-thirds down its length.
Now, it’s time to bring your black hopper to life! Attach two strands of rubber legs on each side, just above where you left off wrapping your thread. These legs mimic the hind legs of a grasshopper or other critter, so secure them tightly with a few extra wraps of thread.
With the legs in place, carefully wind your foam strip forward along the shank towards the eye in neat, close turns, ensuring they don’t overlap too much. Stop just behind the spot where you initially attached it.
Secure the foam with several tight wraps of thread and trim off any excess.
Now, let’s add the hackle feathers. Take a feather and strip off some fibers from its base to reveal a bare stem. Attach it to the fly, keeping the shiny side facing upwards.
Lastly, wind the feather around the foam body in evenly spaced turns, securing it with thread as you go.
Finish off with a few more wraps of thread, secure everything with a whip finish, and trim off any excess material.
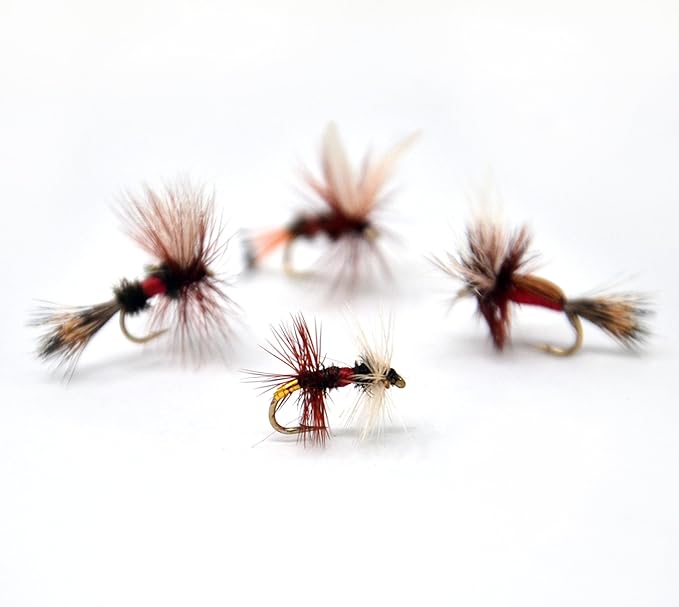
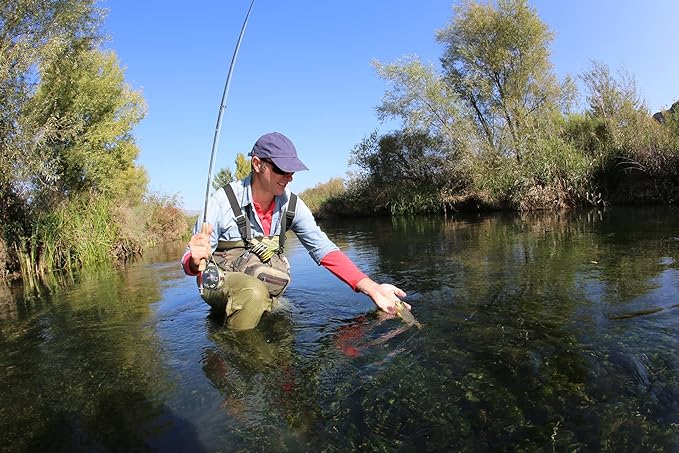
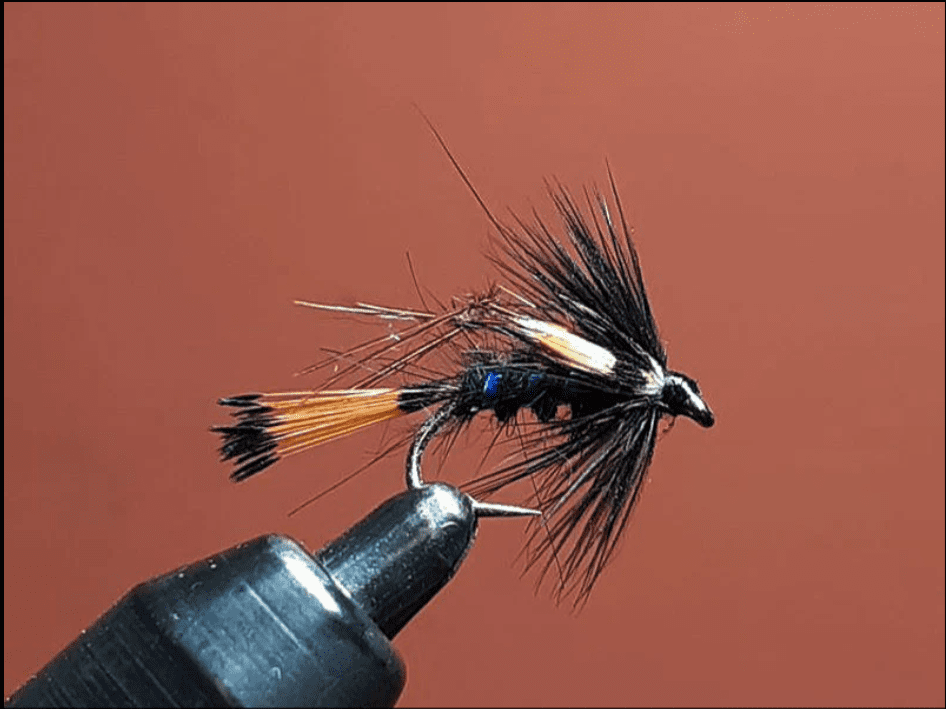
Voilà! You’ve just crafted your very own black hopper fly—a tantalizing treat that’s sure to lure in those trophy trout. Now, it’s time to hit the water and put your creation to the test!
Did you know that the black hopper fly is a really good fly for catching trout? It looks like a grasshopper and the fish love it. Whether you’re a pro or just starting, knowing how to tie this fly will help you catch more fish.
I’ll show you how to make a black hopper fly using poly wing, cut segment, and notice. I’ll explain everything step by step and give you tips to help you. Just follow these instructions and you’ll make great black hopper flies that fish will love.
So grab your vise, tools, and step into the exciting world of fly tying with this captivating pattern!
Essential Materials for Tying a Black Hopper Fly
Choosing the Right Materials
Getting your hands on the right materials is key—it’s what brings your fly to life, giving it that lifelike allure that’ll have trout biting.
Let’s take a look at some essential materials and steps you’ll need.
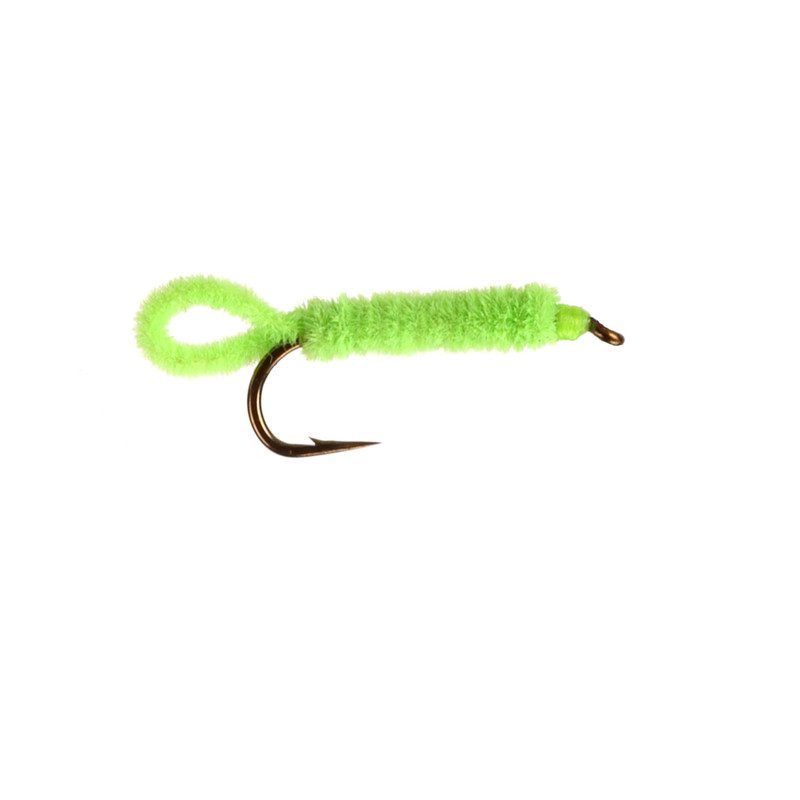
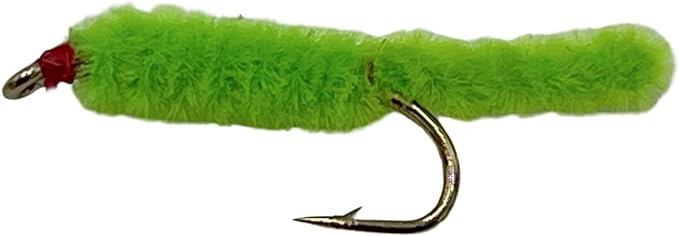
Black Foam
When it comes to tying a black hopper fly, black foam is your ticket to success. It’s the backbone of your creation, shaping both the body and wings of the fly. Plus, it keeps your fly afloat, just like a real insect on the water’s surface.
Make sure to snag top-notch foam that’s durable and can stand up to the rigors of casting and reeling.
Black Rubber Legs
Rubber legs are like the secret sauce of fly tying—they add that extra dash of realism. Opt for black rubber legs that’ll give your fly that lifelike movement, mimicking the way grasshoppers or other bugs skitter across the water.
Look for legs that are flexible yet sturdy, able to withstand all the action out on the water.
Black Dubbing
Dubbing is the magic touch that adds texture and depth to your fly’s body. For your black hopper fly, choose dubbing that matches or complements your foam body color. This little step works wonders, enhancing the fly’s realism and making it irresistible to hungry trout.
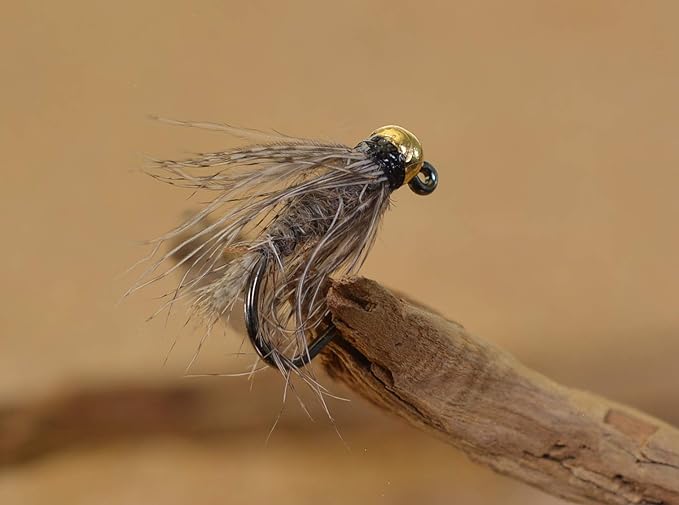
Black Hackle Feathers
Last but not least, we’ve got hackle feathers—the pièce de résistance of fly tying. These soft, feathery wonders bring your fly to life, mimicking the legs or wings of real insects. When selecting hackle feathers for your black hopper fly, aim for quality. Look for feathers with good webbing between the barbs, ensuring they move just right in the water.
With these key ingredients in your arsenal, you’re all set to whip up some killer black hopper flies that’ll have trout lining up for a taste!
Step-by-Step Guide to Tying a Black Hopper Fly
Attaching the Thread and Securing the Foam Body
To begin tying a black hopper fly, attach the thread to the hook by making an overhand knot. This will ensure that it stays in place while you work on constructing the fly step.
Once the thread is secured, you can move on to attaching the foam body step. The foam body step is an essential component of a hopper fly as it provides buoyancy and mimics the shape of a grasshopper.
To attach the foam body, place it on top of the hook shank and use your thread to secure it in place.
Make several tight wraps around both ends of the foam body, ensuring that it is firmly attached step. This step will prevent it from coming loose during casting or when fish strike.
- Attach thread using an overhand knot
- Secure foam body with tight wraps
Adding Rubber Legs for Lifelike Movement
One defining feature of hopper flies is their lifelike movement, achieved through the addition of rubber legs.
To incorporate rubber legs into your black hopper fly, start by cutting two pieces of rubber leg material to your preferred length.
Take one piece of rubber leg material and fold it in half, creating a loop at one end. Position this looped end on the hook shank near the foam body attachment point.
Using the thread, make tight wraps around both ends of the folded rubber leg material, securing it firmly against the hook shank.
Techniques for Realistic Terrestrial Fly Tying
Using Realistic Foam Bodies
One technique that can take your terrestrial fly tying to the next level is using realistic foam bodies. Foam is a versatile material that allows you to create flies with buoyancy and lifelike appearance.
By cutting and shaping foam, you can mimic the body shape and color of different terrestrial insects such as grasshoppers, ants, beetles, and more.
First things first, grab yourself some foam in the right color for the insect you’re trying to mimic – think grasshoppers, ants, beetles, you name it.
Then, get out your trusty scissors or razor blade and start shaping that foam into the body shape you want. It’s all about those little details, so don’t be afraid to add ridges or indents to make it look just like the real thing.
Once you’ve got your foam body looking sharp, it’s time to attach it to the hook. A few wraps of thread or a dab of glue should do the trick. And hey, why not add some adhesive-backed eyes or tiny beads to really make it pop?
With these realistic foam bodies in your arsenal, you’ll be reeling in the big ones in no time!
Creating Segmented Bodies
Another technique commonly used in realistic terrestrial fly tying is creating segmented bodies.
Many terrestrial insects have distinct segmented bodies which help them move with agility across various surfaces.
Start by picking out some materials like chenille or dubbing that match the colors of your target insect. Wrap them around the hook at intervals, leaving some space in between to mimic those natural segments. You can get creative here – use wire ribbing or thread wraps to really make those segments stand out.
These segmented bodies don’t just look cool, they also move in the water just like the real deal. So next time you’re out on the water, give ’em a try and see what bites!
Recommended Materials for Optimal Results
Foam Body: Buoyancy and Durability
When aiming for top-notch results, the choice of materials becomes paramount. Among these, the foam body stands out as a cornerstone. Opting for high-density foam ensures a delicate balance between buoyancy and durability, both essential for the efficacy of your fly pattern.
The inherent buoyancy of high-density foam enables it to effortlessly float on the water’s surface, mimicking the appearance of a genuine grasshopper or cricket. This quality renders it particularly effective for imitating terrestrial insects commonly found near or on the water.
Moreover, the buoyant nature of the foam body ensures sustained visibility and allure to fish throughout your angling endeavors.
Renowned for its resilience, high-density foam withstands the rigors of repeated strikes from fish, maintaining its form and integrity over time. This translates to less time spent retying your fly and more time engaged in casting and reeling in your catch.
Rubber Legs: Lifelike Movement
An indispensable component when crafting black hopper flies, rubber legs impart crucial lifelike movement to your creation. Their natural appearance and realistic motion in the water serve as irresistible attractions for fish.
Available in assorted colors and sizes, rubber legs afford you the flexibility to tailor your fly according to personal preference or local insect patterns.
Select legs that closely mirror those observed on grasshoppers or crickets endemic to your area to maximize effectiveness.
Securely affix rubber legs to your fly pattern by employing thread wraps around each leg’s midpoint, where they converge on the hook shank. This prevents unintended slippage during casting or when engaged in battle with a fish.
Color Choice and Its Impact on Fly Effectiveness
The color choice of your black hopper fly can significantly influence its effectiveness on the water. While black remains a popular option, the spectrum of black hues is surprisingly broad.
To enhance your chances of success, it’s essential to experiment with various shades to find the most enticing color for the fish species you’re targeting.
Subtle Variations in Color and Contrasting Accents
Beyond exploring different black shades, consider incorporating subtle color variations or adding contrasting accents to elevate your fly’s appeal.
For instance, integrating strands of flash material into your pattern can produce a mesmerizing shimmering effect underwater, potentially increasing its allure to fish.
When choosing colors for your black hopper fly, remember that certain hues may excel in specific conditions. During low-light periods or when visibility is compromised, opting for flies with brighter accents like orange or chartreuse can enhance their visibility to fish.
While color experimentation is crucial, don’t overlook the importance of size and presentation in maximizing your fly’s effectiveness during your next fishing expedition.
To summarize:
- Experimenting with different shades of black can help you find the most appealing color for the fish you are targeting.
- Incorporating subtle variations in color or adding contrasting accents like flash material can make your fly stand out.
- Consider using brighter accents like orange or chartreuse under low-light conditions or when visibility is poor.
Importance of Technique and Variation
Mastering the art of tying knots, manipulating thread, and finishing with precision are key to crafting high-quality black hopper flies.
Selecting the appropriate feather for the fly’s legs is equally vital. Matching the size and color of real grasshoppers can deceive fish into striking.
Experimenting with alternative colors such as brown or green to mimic specific grasshopper species can yield promising results. Attention to these intricacies will undoubtedly boost your angling success.
Tips for Successful Black Hopper Fly Tying
Begin by securing a tail made from deer hair or synthetic fibers near the hook bend using thread wraps. Gradually build a tapered body using dubbing material, blending various shades of black for a realistic appearance.
Choose a hackle feather of suitable size to create lifelike legs and wrap it around the hook shank before securing with additional thread wraps.
Conclude with a whip finish knot, ensuring a secure and tidy finish to your fly.
Consistent practice will refine your tying skills, allowing you to develop customized variations tailored to your fishing environment.
Conclusion
Tying a black hopper fly is a gratifying pursuit for fly anglers, requiring careful attention to detail and technique. By experimenting with colors and incorporating realistic features, you can enhance your fly’s appeal and effectiveness on the water.
Now equipped with the knowledge of tying this fly, seize the opportunity to test your creations and embark on memorable fishing adventures.
Frequently Asked Questions
How can I tie a black hopper fly pattern?
To craft a black hopper fly pattern, gather essential materials such as hooks, thread, foam, and rubber legs. Follow our detailed step-by-step guide provided in our blog post to master the techniques for tying this highly effective terrestrial fly. With dedication to practice and attention to detail, you’ll soon be adept at creating your own black hopper flies.
What are some recommended materials, such as macramé yarn, deer hair, for tying a black hopper fly?
For optimal results in tying a black hopper fly, it’s advisable to utilize top-quality materials. Opt for durable hooks, robust thread, realistic foam bodies, and lifelike rubber legs. These components not only enhance the visual appeal of your flies but also ensure their resilience during fishing excursions.
Does color choice impact the effectiveness of the black hopper fly for trout?
Absolutely! Color selection significantly influences the effectiveness of black hopper flies for trout fishing. Experiment with various shades of black and consider incorporating contrasting colors to attract more fish. Keep in mind that certain color combinations may perform better depending on prevailing conditions and target species.
Are there any tips for achieving realistic results when tying terrestrial flies for fly fishing trout?
To achieve realistic results when tying terrestrial flies like the black hopper pattern, pay attention to details such as body proportions and leg placement. Mimicking natural features accurately can increase their effectiveness. Consider incorporating techniques from guides like “Tying Morrish’s Hopper” or “Crafting Paramore’s Thunder Thighs Hopper Fly” for more detailed instructions.
Why is understanding the Black Hopper Fly Pattern important?
Understanding the Black Hopper Fly Pattern is crucial because it allows you to comprehend its purpose and design elements better. By familiarizing yourself with this pattern’s characteristics and behavior in water, you can make informed decisions about modifications or adaptations needed based on specific fishing situations or preferences.

Meet Ibrahim Khan, an avid angler and author in Fishing Teach. He shares his wealth of knowledge from his 16 years of experiences in fishing. His articles are a captivating blend of practical insights and thrilling tales that invite readers into the enchanting world of fishing.
Ibrahim’s guides are your go-to guide in the realm of fishing on this informational site. Hailing from a coastal paradise, Ibrahim’s passion for angling is the heartbeat of his life.